Tuesday, October 4, 2011

Quickie Craft: Wire Heart Bookmark

Need a bookmark? Want it fast? Tired of using (insert random bit of paper name here) as a bookmark? Tired of losing your (insert important documents/cards here) because you used it as a bookmark? You know who you are! Grab some wire and pliers and let's make this sucker.

Here's what you need:

Wire cutters, round nose pliers, chain nose pliers, and 18 gauge wire mine is a pretty pacific blue (Thank you, J.T.!), but use whatever makes you happy!

If you are using coated wire it would probably be in your best interest to tape your chain nose plier jaws with masking tape before proceeding or you risk marring your wire.  I played with fire I got burnt, listen to me people, don't scratch your wire! End disclaimer. Let's begin.


Cut a piece of wire approximately 5 inches long and using your fingers bend it in half like this:

Very rounded let's fix that shall we?

Take your taped (or otherwise coated) chain nose pliers and make the loop more angular like so:


Now take out your round nose pliers and make small loops on either end like this:

Right side


Now both. Make sure the loops face the center.

Now using the taped chain nose pliers roll the loops on each end toward the center, like this:

No tape equals BAD! Remember!
When you have rolled both sides in adjust them to make them even and heart-like.

A little scruffy but still usable.
You can also make a more open version like this:


Just cut your wire a little longer and start the curl around the end of a pen instead of using the round nosed pliers.

To use the bookmark angle the swirls up so that the fit over the pages like this:

Front view


Back View
And you're finished! Go find a good book! Might I suggest a steampunk novel by George Mann, they're awesome!

Tuesday, September 13, 2011

Itty Bitty Bunny

It's been a while since I have posted anything so I thought I would share something I made for my Mimmaw (aka my paternal grandmother) a while back. She absolutely loved it and it was totally worth the hand cramps to see the look on her face when I gave it to her.  She is the personification of the phrase, "Grandmas don't just say 'that's nice' - they reel back and roll their eyes and throw up their hands and smile." (from "To a Very Special Grandmother" by Pam Brown)  

I got the pattern for knitting the bunny here and the pattern for the forget-me-not came from the book Crochet Inspiration by Sasha Kagan, the dress was all me. The eyes are french knots and I added a mouth. Oh and I made her a necklace too. I had WAY too much fun with this. Hope you enjoy the cuteness!

Here she is in my Mimmaw's hand!

Wednesday, August 10, 2011

Kumihimo Necklace

I am always looking for some new or different crafty thing to learn so when I saw the kumihimo braiding disks in a recent beading catalog I had to try it. But you know me, why buy it when you can make one so; I grabbed a box and made my own.  Sorry I didn't take pics of this part but basically all I did was trace a cd (trace the small inner circle too) onto the back of a piece of cardboard (thinner is better I realized this later and made my second one out of a cake mix box).  I cut it out leaving the center part intact, drew 16 lines across making 32 spokes that met in the middle. Then I cut out the center circle with an exacto knife and made 32 slits (one on each spoke) around the outside with my scissors. If this is unclear I am sure you could find instructions for making one online somewhere. Once you have your braiding disk we are ready for stage 2.

For your necklace you will need:

3 metal washers (plus extra for weights, I know, I know you're confused right? It will all make sense in just a few minutes, trust me ;)

mod podge

a picture (you should probably just pick something with a nice pattern unless your washers are large, mine were not and after the cutting and gluing you couldn't tell what my picture was but I still liked the results)

jump rings (appropriate size for your washers, I have no idea what size I used because I made mine.)

novelty yarn

worsted weight yarn (I used acrylic. Yes I admit it I have a stash of Red Heart so shoot me who doesn't have at least one skein of it.)

scissors

lobster claw clasp

lighter

exacto knife

cutting mat

pencil

darning needle

Got all that, ok lets get started!

Take out your washers and the picture or patterned paper you want to use.


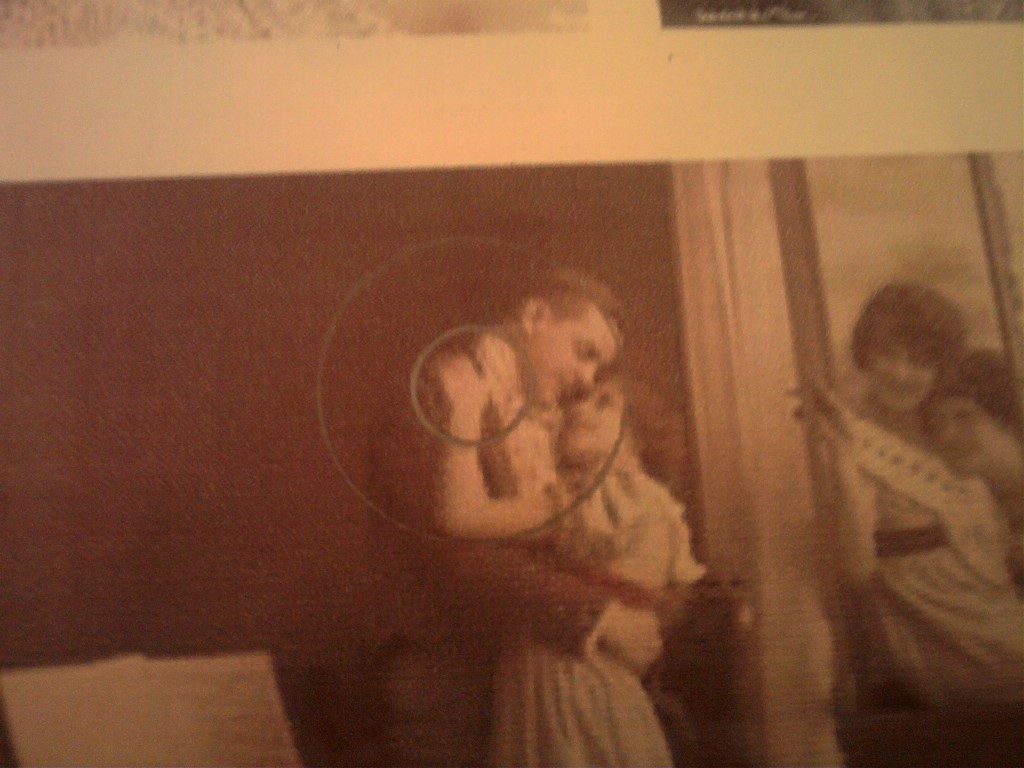
Some vintage pictures I had just kicking around.


Decide what areas you want and center the washers over them and trace and cut them out.


Yes I know I should have guessed that you couldn't tell what the picture was of once the necklace was on but I just love the picture so much I was blinded to logic. Oh well!


Now cut out those centers.


Ok, are you ready, it's MOD PODGE Time!
Give that sucker a good thick coat!

Add the picture and coat the top with more!  Repeat with the remaining two washers.

Now it's time to start braiding so grab your disk and your yarn.


Cut 4 pieces of yarn, 2 of the novelty and 2 of the regular worsted weight, 3 yards each.

Fold them in half. Using a small piece of waste yarn tie 3-4 washers to the middle.


Place this through the disk


Now divide out the yarn like this:


We are going to make a spiral pattern so all you have to remember is right down, left up, rotate. I forgot to take a picture but this video explains it better than I can anyway. Oh, also I think the video says rotate left but I went right I don't think it makes much difference though. I think my spirals probably go in the opposite direction is all.

Once your braid is as long as you want your necklace to be, stop and remove it from the disk. This is the way I did it.

Take the novelty yarn off first.


Tie it in a square knot.

Trim the ends. Not too close though.

Tie the worsted weight in a square knot as well.


Now get out that darning needle. Wrap and secure the remaining yarn using the needle. One set of yarn at a time.

First two pieces. One wrap.


Now a few more.


Both ends on the needle.


Pass it up through.


Sorry its so dark.


Up through once more.
 Repeat with the second set of ends.

Tie the 2 sets in another square knot.


Trim the ends.
Now burn, Baby, burn. Well, not really, you actually just want the ends to melt and fuse a little but whatever, you are using fire so you get the point.


Melted and smushed down. Careful of those fingers!
Add a jump ring through your knot.


You may have to wiggle it (just a little bit he, he like the song, get it? Oh never mind.)

Now that you have one jump ring on close it and add another one so it looks like this:


Now for the other side.  Remember those washers we used for weights?  First thing we need to do is remove those. Leave the yarn in there though for now.

Just untie and remove the washers. Don't forget to leave the yarn.
Now use the yarn to help you find the loop where you started. Insert a jump ring into the loop, add a lobster claw clasp, then close the jump ring. Remove the yarn.

Whoa thats fuzzy! Sorry 'bout that, you get the point though.


Now the necklace is done except for adding your washers.


You will need bigger washers for in between the washers so they will lay flat.
Find the center of your necklace and slip the smaller washer into one of the plain (worsted weight) yarn "bumps," add the top washer, close the jump ring. Use the larger jump rings to attach the final two washers to each other. And you are finito mis amigos.

Close up! Aaaaaa!
Whole necklace


Headless me!

Thursday, June 23, 2011

Onesies for My Niece The Grand Finale

This last installment is an embroidered one.  Here's a refresher of what you will need:

Onesie (duh!)

embroidery needle

embroidery floss (I used light purple, dark purple, gold, and variegated teal plus some extra for basting, color doesn't matter for the extra. Once again I don't know the DMC numbers because it came from that floss fish bowl I mentioned earlier.)

dryer sheet and coffee filter (I used both but it would probably be better to just use the dryer sheet. I'll explain later.)

scissors (as always)

pencil and pen

design template unless you want to freehand something. I got my template from a book I checked out at the library called The Anchor Book of Free-Style Embroidery Stitches.


Ok let's get started!

First take out your dryer sheet and trace the design you want onto it. I traced onto a coffee filter (as you will see in the pictures) and did not attach it to the fabric in any way when I was trying to trace onto the fabric, but I basted a dryer sheet to my onesie to stabilize it.  I think if I had traced my template onto the dryer sheet that I used as the stabilizing fabric I could have just stitched on top of the lines instead of trying to transfer the lines to the fabric first.  I hope that makes sense, if not just ask and I will try to clarify.  In other words trace onto whatever you are using for a stabilizing fabric or as my mom would put it do as I say and not as I do.

Lying on the book ready to trace
In pencil

Now in pen and trimmed to a more manageable size.

 At this point I traced my image as best I could onto the fabric which as you will see was not exact but it worked. If you try it with tracing onto the stabilizing fabric let me know how it works out for you. 

Next I turned the onesie wrong side out and basted the dryer sheet piece to it using some extra embroidery floss.


Turned wrong side out and dryer sheet in place.

Ready to begin basting.

All ready to start embroidering. You can just barely see my birdie outline.

 Now its time to embroider. You can follow the stitches listed in the book, which is pretty much what I did except for the beak, or you can do your own thing. The choice is up to you.  Here's what I did:

A work in progress!

Close up of a back stitch.

More of the wing.

All finished on the front side time to take out the basting floss.

Now use your scissors to carefully snip and tear off the extra dryer sheet.

All sniped and cleaned up.

And thats it! Here are all the onesies:


And here they are packed and ready to go!

All tied up with a bow!

BONUS MATERIAL!!!!!


Just for kicks here's a printed onesie I dolled up as well. I tatted my niece's name using letter patterns from a booklet given to me by a most lovely person and wonderful friend (Along with a ginormous bunch of other crafting stuff including the pearl cotton I used to tat the letters. Thanks, Nicole!!).   I love this booklet so much that I have forbidden anyone with unclean hands to touch it, why you may ask, well I'll tell you. The name of the booklet is Tatted and Crocheted Designs Star Book 30 and it's copyright date is 1944! So if you hurt it, you DIE! It's just that simple.  I love every pattern in this booklet!  If you ever see one in your vicinity and you like to tat or crochet you MUST get it!  Well enough about the booklet ( I Love this Booklet! Sorry just had to say it one more time!) here's the pic:

CLARA

Me holding Clara. Auntie Sarita Loves You!